
Summer Bag {DIY}
14:44
Basically the bag I use for college is falling apart so I thought I needed a new one. And in this economic climate I can't afford a ready-made pretty leather bag. So I thought I'd make one for myself. *nervous*
I went to the local shop (well the only material shop in town) and bought a bundle of material for £4.20. It didn't come in metres but instead four 22" squares.
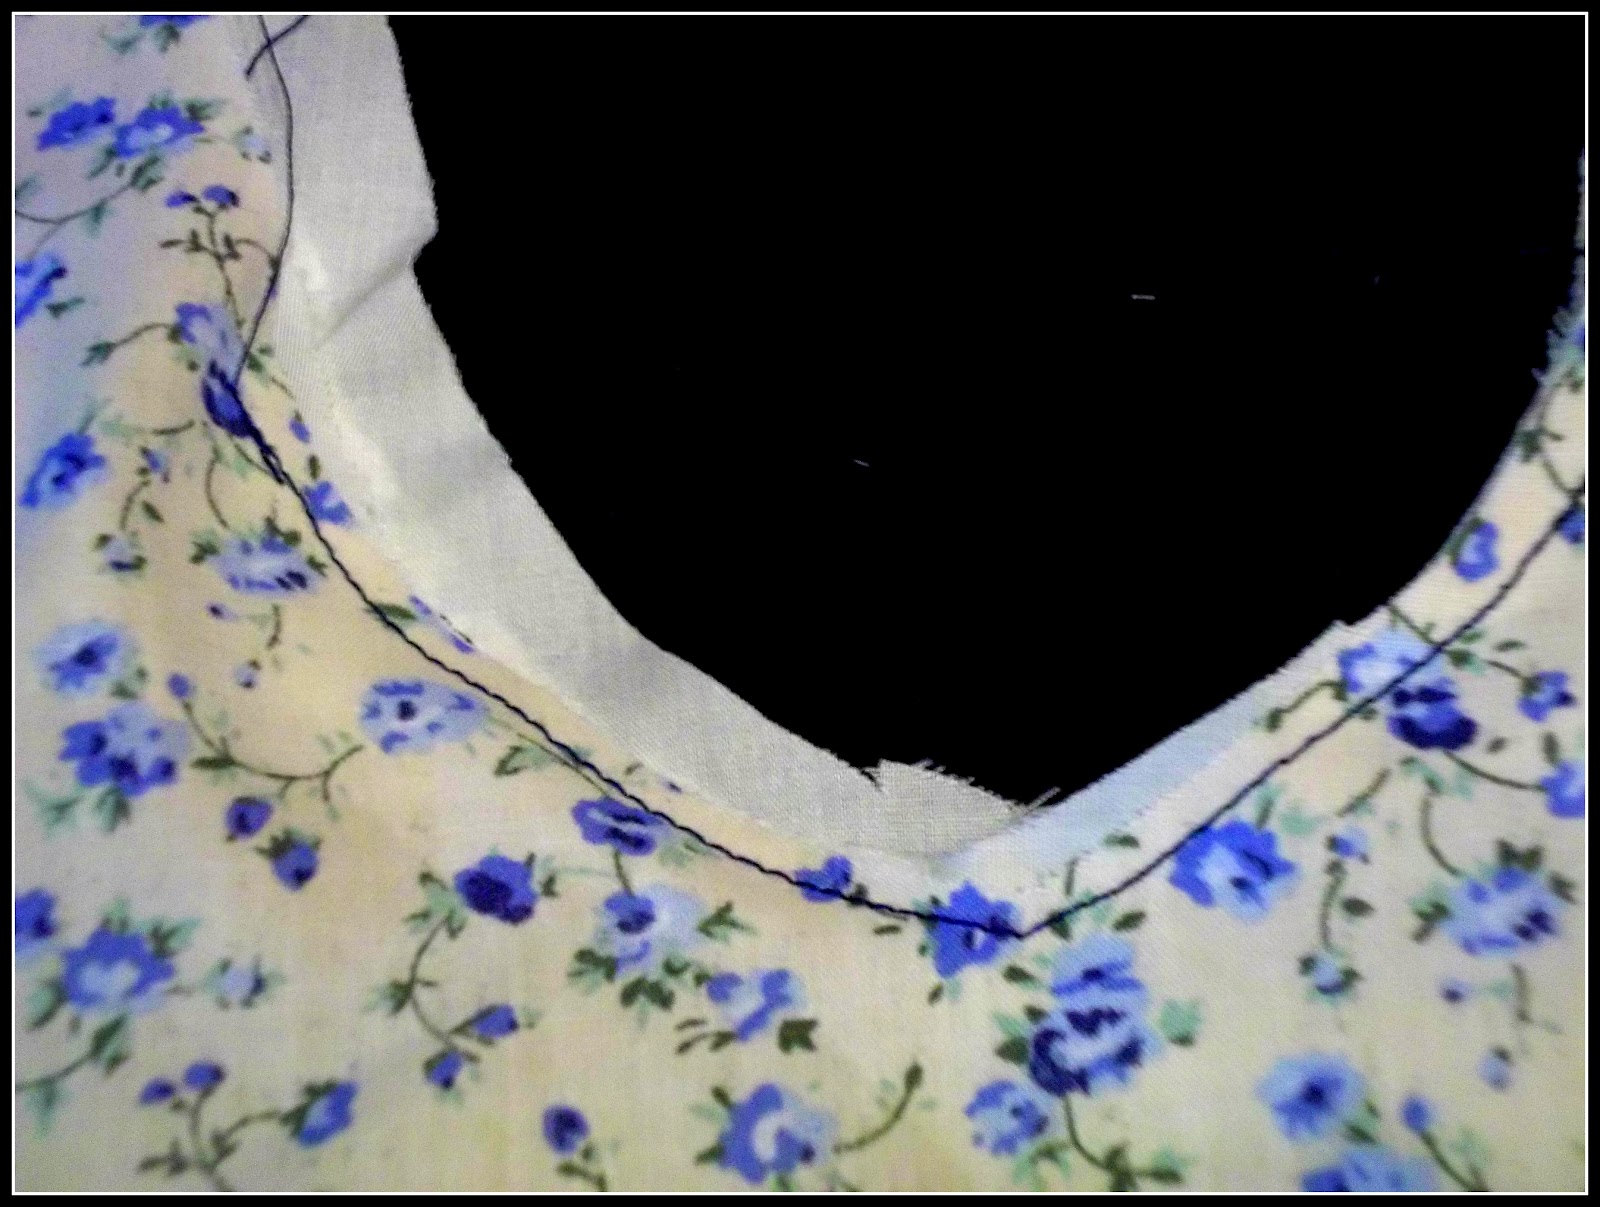
It's all pretty and floral and lovely!
You will need:
About 1 metre of two different materials; the main material and the lining
(depends on how big you'd like your bag)
Sewing Machine
Chalk
Tape Measure

1.
This was my basic shape, I used a bag I already had as a template, I won't give you any precise measurement so you can make it as big or small as you like. You will need two pieces from your main material and two from your lining.


2.
You don't have to sew on pockets, but if you would like to, use the spare material from your main material, putting out a square as big as you'd like your pocket. First hem the side that is going to be the open bit of the pocket. Then sew the remaining three sides to the lining (I did this on both pieces of the lining).
3.
Put the right sides together and then sew around the bottom and the edges of the bag.
4.
Put the sewn together lining inside of the sewn together main bag. You then need to sew the edges of the handles (main bag to the lining) you will need to leave a sufficient amount of space to pull the right sides through.

5.
The pull the right sides through, this can be rather difficult, it just depends on how much space you left on the handles.


6.
Then you will need to sew the tops of the handles together (sew together the pieces of handle from the same piece of material). Once you have done this you will need to iron down the edges so that you have a neat edge when you sew then together.

7.
Sew together the lining of the handles and the main material handles. Make sure you sew around the entire perimeter of the handles so it's neat.


VOILA!

I'm actually really proud of this, I was so scared I was going to get it wrong. Material can be rather expensive so I hate wasting it, plus I would have felt like a bit of a failure if it didn't work.
I'm now using this bag all the time, definitely going to get some good use out of it considering it was only and hour and half worth of work. Initially I wanted the bag to be bigger, however I didn't have enough material, luckily this still fits my A4 psychology folder in it, and it's rather fat!
My Mum is also very jealous and wants me to start making things for her (she'll have to buy some material for me then!)
If you have any questions just let me know and if you try the tutorial let me know how it goes.
So remember, each day, live a little, laugh a little and love a little. ♥


4 Lovely messages
Beautiful! I love the fabric - the colors are lovely :)
ReplyDeletexoxo
Nat
modernbuttercup.blogspot.com
It' lovely, isn't it?!
DeleteHas a nice vintage look to it, also I'm a sucker for florals!
xox
Hello Beth, your bag is so cute ;). I love the fabric.
ReplyDeleteGreetings from Prague.
Radostina
Hey,
DeleteThanks, I love the fabric too! =D
xox
I love reading all of your comments and I promise I will reply to all of them, so remember to check back.
Love you all! ♥
xox
If you leave your link, I'll make sure to pop over. If you don't know how you can find the code here!